Print Room & Framing Blog
How to Make a Photobook in Minutes with Our New Smart Creator Layout Tool
Share this article:
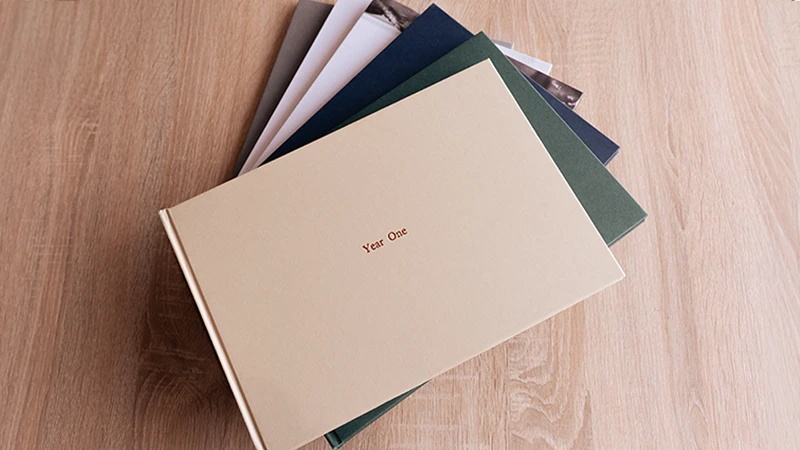
Creating a custom photo book should feel as effortless as reliving the memories inside it. With our new Smart Creator Layout Tool on Orms Print Room & Framing, you can design a beautiful, personalised book in just a few minutes. From travel snapshots and wedding memories to your favourite everyday moments – here’s how to bring them to life.
Step 1: Sign Into Your Account
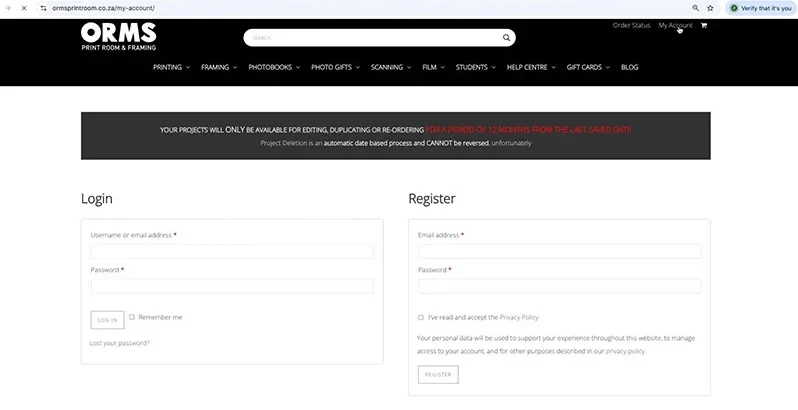
Head on over to Orms Print Room & Framing
Click on ‘My Account’ in the top right corner.
- Don’t have an account yet? You can create an account – it only takes a minute.
- Returning customer? Simply log in.
Your account is where all your past and present projects live. Every project you save stays here, so you can come back anytime to work on it or re-order a product. Once you’re signed in, choose the Photobook you’d like to create from the dropdown menu, then click ‘Get Started.’
You can either begin with a themed template or design from a blank canvas. After that, select your preferred book size and finish options, then hit ‘Start Creating.’
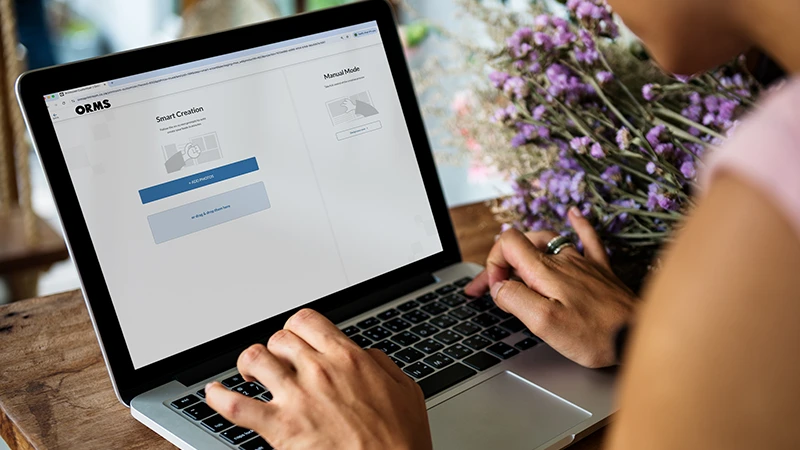
Step 2: Let the Smart Creator Work Its Magic
Here is the fun part – adding your photos.
When prompted, you’ll have two options:
- Smart Creation: automatically designs your book in just a few minutes.
- Manual Mode: gives you full creative control from the start.
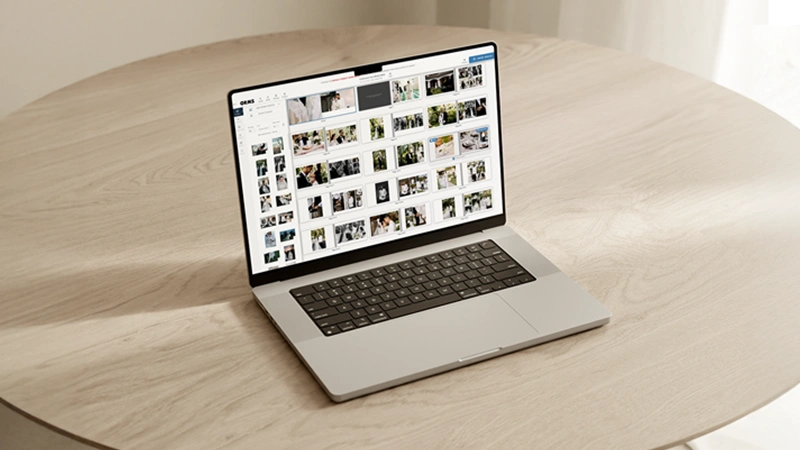
Click ‘Add Photos’ and choose where to upload from – your computer, your phone, or even Google Photos or you can drag and drop your files straight into the window.
To upload everything from a folder, select all your images at once (Command + A on Mac or Ctrl + A on Windows) and click Open.
You’ll see your photos start to load. You can always add more, delete a few, or let the Smart Creator decide which images to include in the final layout.
Once you’re ready, click ‘Do the Magic.’ (If you’d rather start from scratch, select ‘Design Your Own’ instead.)
Depending on how many images you’ve uploaded, the layout process will take a few minutes – then your ready-made photo book will open in the editing window.
Step 3: Review and Refine Your Layout
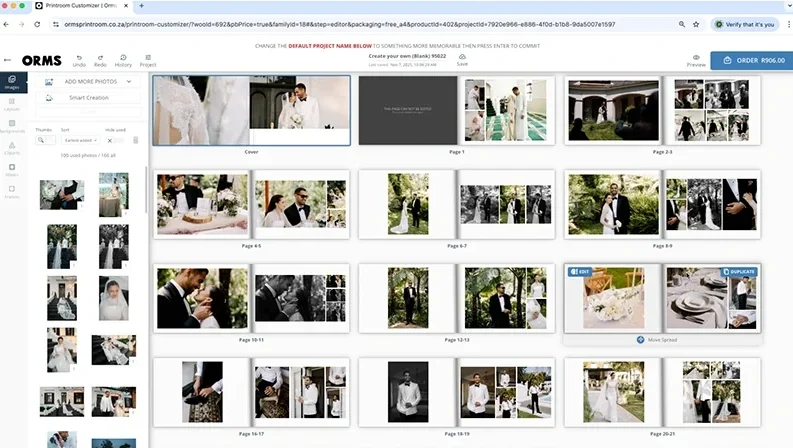
Your book will open in All Pages View, displaying every spread side by side.
You can:
- Adjust the number of pages or rerun Smart Creation.
- Add more photos at any time.
- Use the ‘Hide Used’ toggle to view images that haven’t been placed yet.
For example, if you uploaded 166 photos, Smart Creator might select around 100 for a 42-page layout. You can double-click any page to zoom in and make individual edits in One Page View.
Step 4: Edit and Perfect Your Design
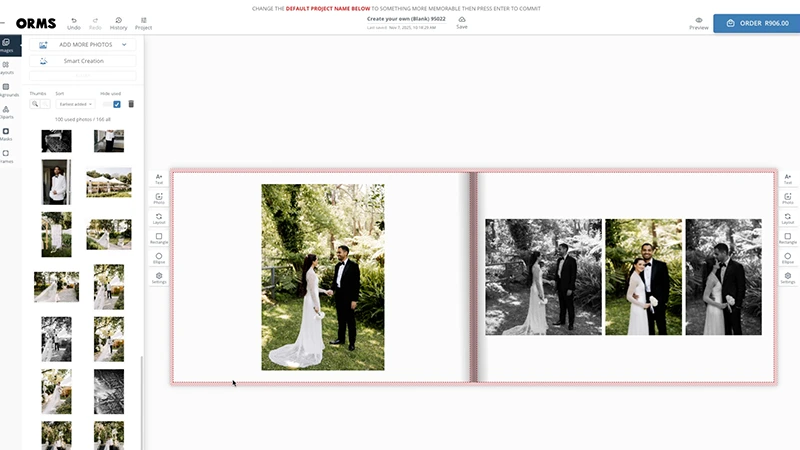
This is where you make the book truly yours.
Click ‘Preview’ to flip through your pages like a real book, or switch back to editing mode to make adjustments.
Here are a few ideas to try:
- Add a title to your cover by clicking on the text box and positioning it just right.
- Tip: Avoid placing faces or text in the red bleed area near the edges.
- Tip: Avoid placing faces or text in the red bleed area near the edges.
- Swap photos by dragging and dropping new images into a layout.
- Explore alternate layouts or tap into the ‘Ideas’ panel for fresh design inspiration.
- Add extra text boxes anywhere to include captions or notes.
Once you’ve checked everything one last time, click ‘Order’ – and that’s it! Your personalised photo book will soon be on its way to you.
Ready to Create Yours?
Visit Orms Print Room & Framing and try the Smart Creator Tool – it’s the fastest way to turn your photos into something you’ll love holding in your hands.